To sleep, perchance to dream – ay, there’s the rub, for to dream well, that desires comfort!
The rear seats in the very early Model 3s folded down flat. The rest of us (after about serial number 10,000) get a more comfortable back seat, but also a bed that lacks a certain desirable flatness. Don’t get me wrong, it’s not terrible, just sub-optimal.
The solution is simple, a strap to pull the seat backs closer to a flat orientation. And yet even the simplest solutions appreciate some trial and error to find ease of implementation.
So today I share with you my experiences, in case it helps you.
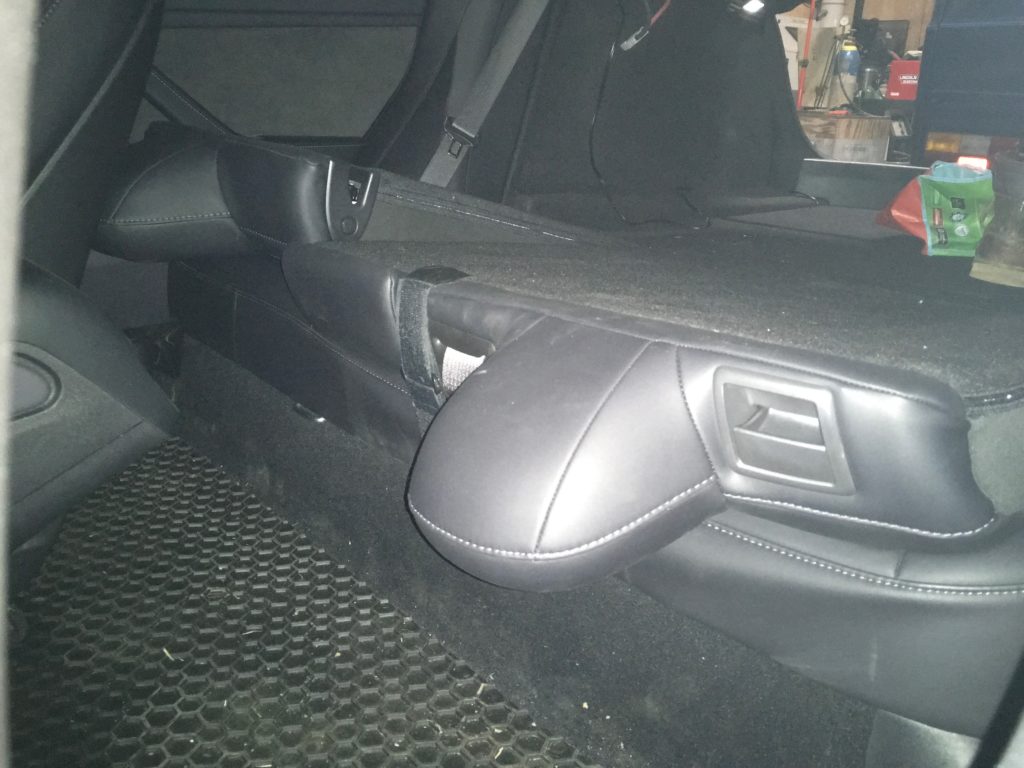
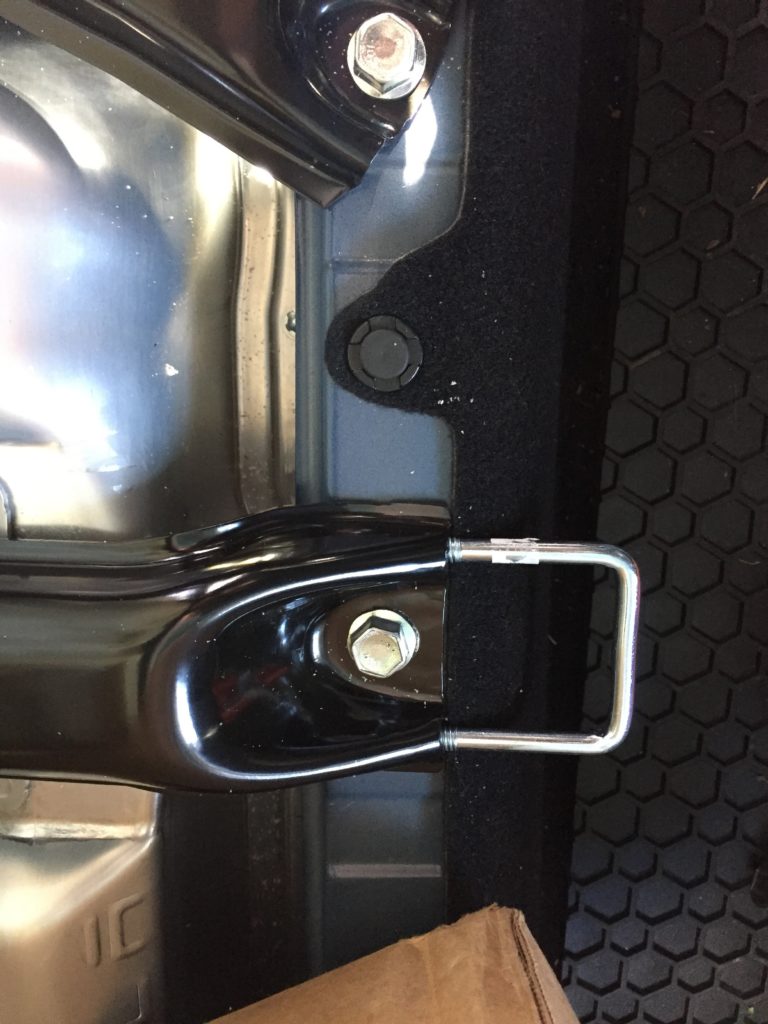
Fortunately, my Model 3 has some handy brackets under the seat that allow for insertion of U-bolts that fit perfectly in the bracket ridges and provide a place to attach velcro straps.
The seat bottom easily lifts up after gently releasing two white catches (toward the front of the car under the seat cushion) that hold the seat base down. Be careful of the seat heater and occupancy sensor wiring.
When replacing the lower seat cushion, be sure the two back hold down points are seated properly before inserting the front tabs into the latches.
Spinning the U-Bolt nuts on after inserting them in the brackets is tricky to do without dropping the nuts, but keeps the U-Bolts from sliding out. Will they vibrate off? Time will tell or maybe some rubber tubing would insure they stay on. The U-bolt plates are discarded. [EDIT: I later installed the U bolts and held them in place with only vinyl tubing slid over the threads (maybe 3/8″ tubing?) and it held fine with no nuts at all. The forces don’t really pull on the U Bolts]
It may be worthwhile to cover the most of the threaded sections of the U-Bolt with heat shrink tubing to avoid scratching the paint finish. I have not tried that yet.

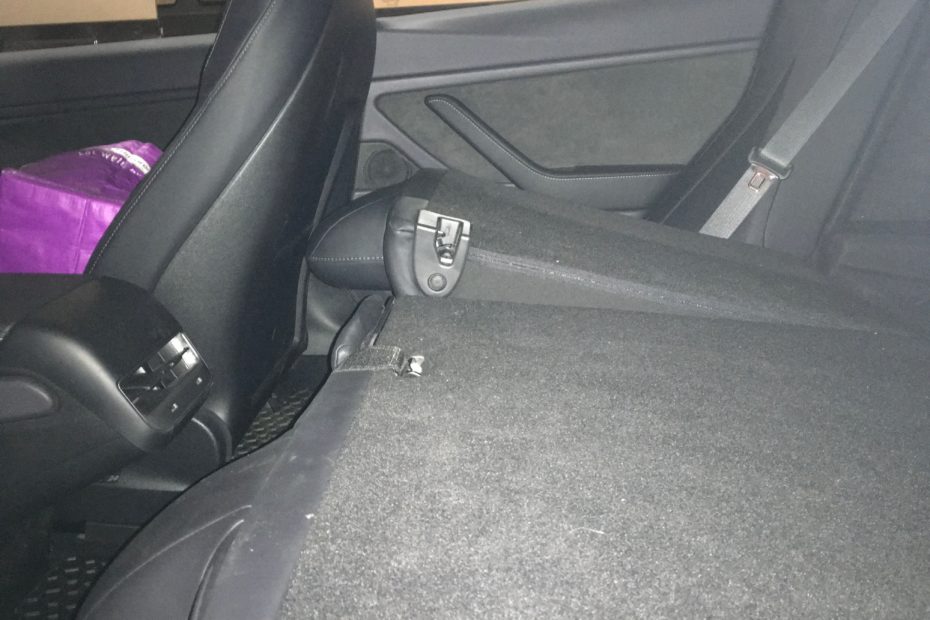
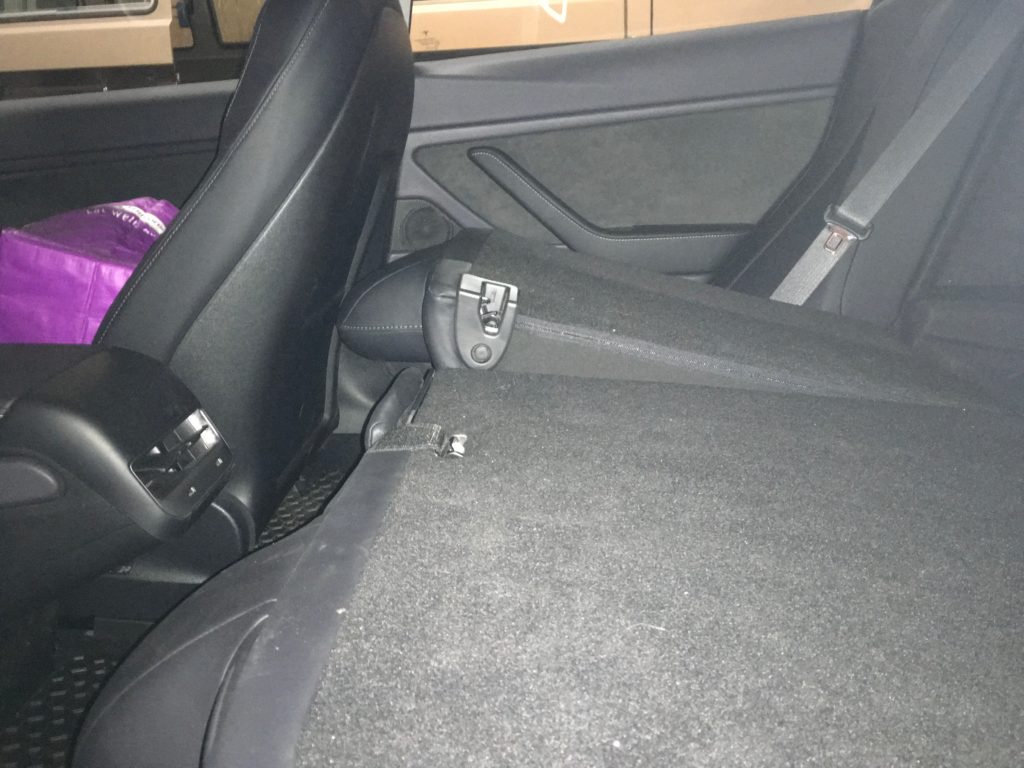
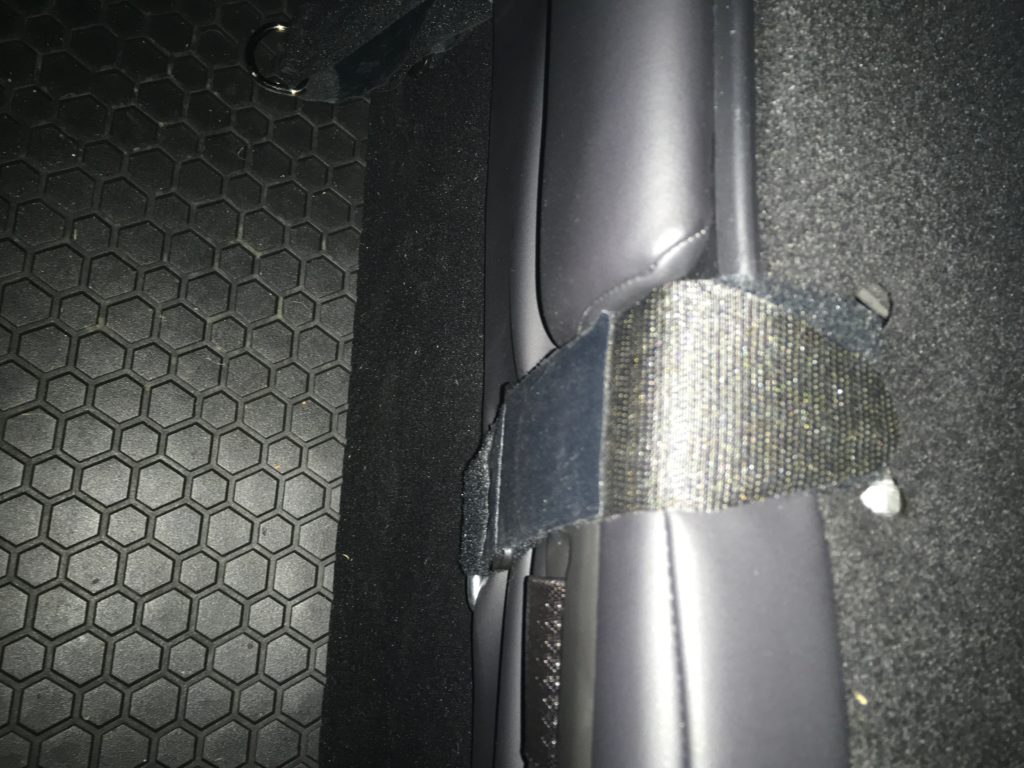
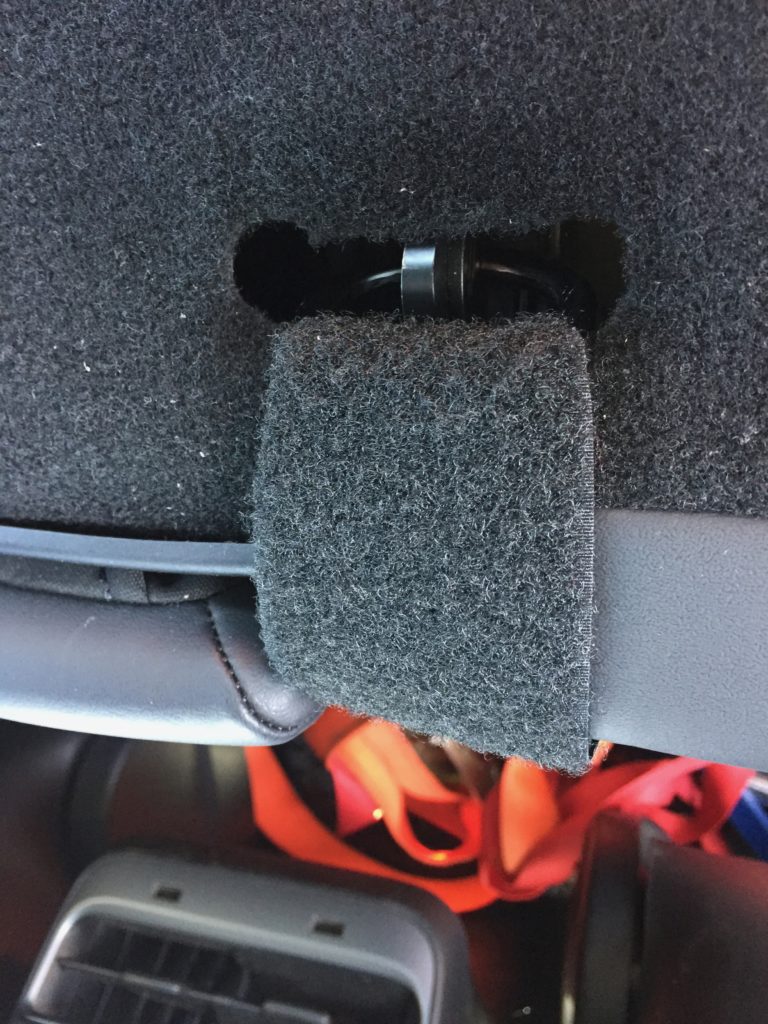
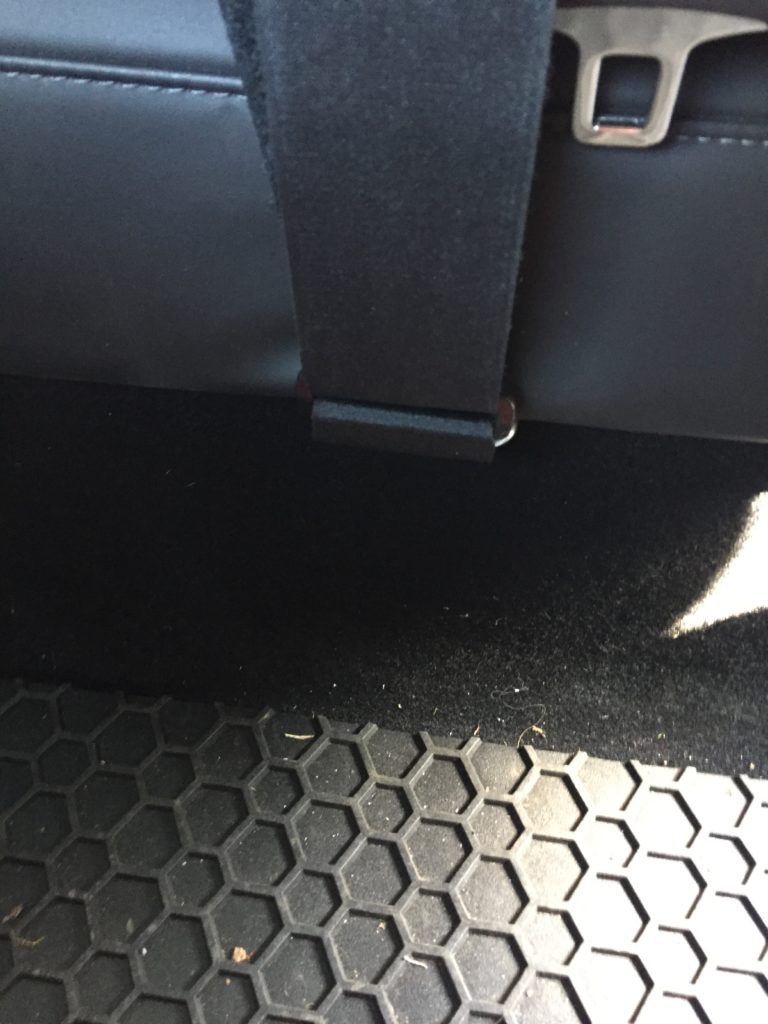
The D rings are used as an interface to latch into the seat back catches. The velcro straps should be loose in order to insert the D rings into the latch and then are then cinched tight while kneeling on the seat back to compress the seat. Releasing the straps is easy, just release the seat back catch.
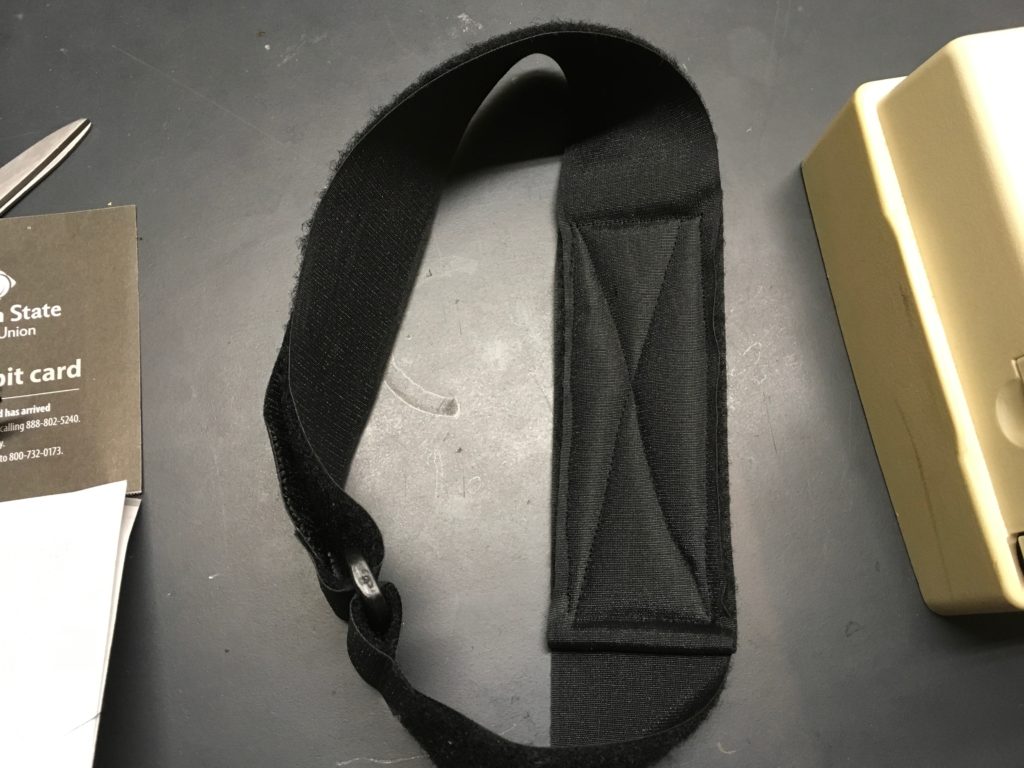
The straps were originally 36″ long. I folded them over and sewed them to reduce to 25″ for a better fit. Ideally the sewn bit is close to the plastic buckle to allow the most adjustment.
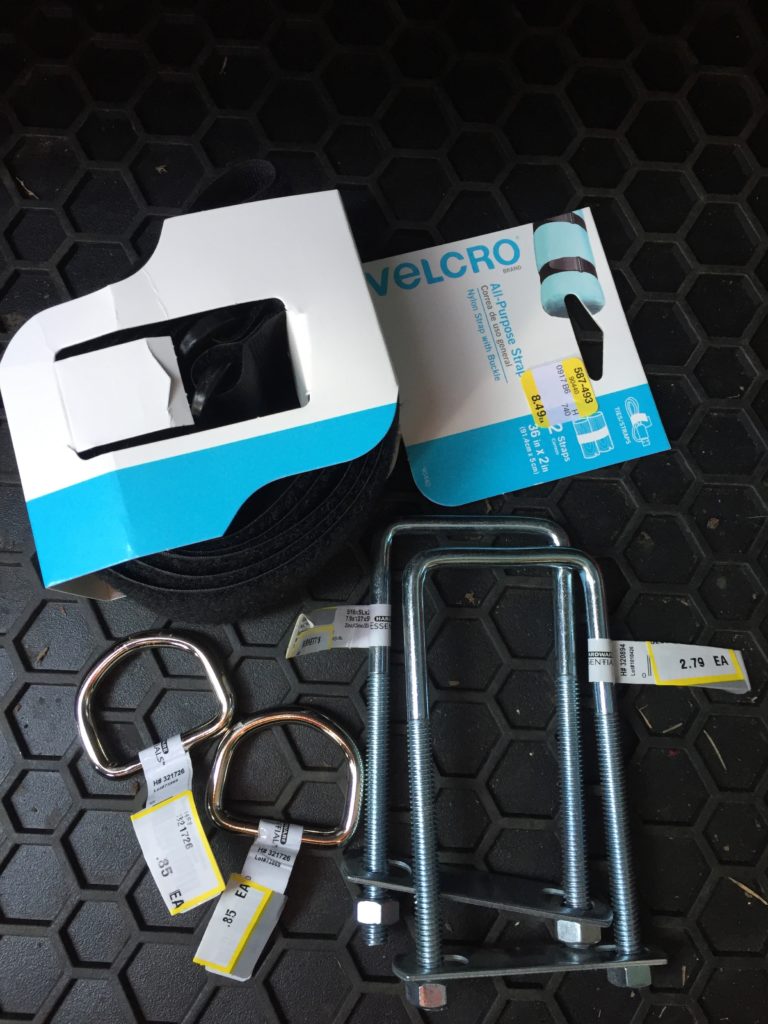
The parts required are pretty simple and I found them at ACE Hardware. Some are available at Amazon as well. Some links used are affiliate links. By buying through the links I may receive a commission for the sale. This has no effect on the price for you.
2 of 5/16″-18 x 5″ x 2″ Zink Plated U-Bolts
1 pair 36″ x 2″ Velcro straps, Sewed down to 24″ I wish these were stronger, but they seem to hold.
VELCRO Brand All-Purpose Straps | Strong & Reusable | Perfect for Fastening Wires & Organizing Cords | Black, 36in x 1in | 2 Count2 of 0.243″ x 1-1/4″ x 1-1/8″ Nickel Plated D Rings
Sorry, no Amazon link found for the D rings since they all seem a bit thin. Home Depot does show some in packs of 10.
The actual mattress is an ongoing investigation.
As of today I’m pretty happy with a 2″ memory foam topper folded over double for 4″ plus a Thermarest Base Camp underneath is to keep my hips comfortable. It’s only wide enough for one person, and seems sub-optimal due to bulk and complexity. I’ll add more here if and when I discover a better mattress. [2024 EDIT: See my Model Y post for the new XPED mattress that I love. I think it would fit in the Model 3, but I’m not 100% sure)
Please leave questions, comments or suggestions in the comments below. I’m always happy to edit the blog for clarity and completeness.
This site contains paid links, by buying through these links I may receive a commission for the sale. This has no effect on the price for you.
Nice! I’d love to read more about your adventures using the Tesla as a camper.
Nice write-up, Otmar!
I found those pesky revealed metal pieces to be bothersome when trying to flip over with the Tesla Mattress I use on my trips. Did you find that to be the case for your setup as well? I would love to see the rest of your car camping setup!
With gratitude,
Graydon
I don’t remember having trouble with any metal pieces. Which ones are you referring to? The D rings?
I posted some pics of my setup on the FaceBook Tesla Camping page, but have not gotten around to making a post here. If you are a member of the group then maybe you can see them here: https://www.facebook.com/groups/teslacamping/permalink/1624650324381047
The metal pieces I am thinking of become exposed when you fold down your seats. I have a 2019 Model 3 so it should be the same as yours. I can see about getting a photo of the metal next time I take it out for a drive!
I believe the exposed metal pieces you mention, Grayson, went away in later M3 models. They do not appear in my 2020 M3 delivered in Dec 2019.
Hi there. With the newer Model 3s (I think starting with 2020), the bottom of the rear seat is slightly more thicker in certain spots. I should have measured the straps before sewing them down to 25″, but later realized that wasn’t long enough. I’d add another 8″ to that to make it work with the ticker seats. I kinda gave up on the velcro straps and got some snitch down straps instead which worked well.
I wasn’t able to find the U brackets at Home Depot, nor good D rings that were welded. I think you can get by with welded rings. I ended up getting the brackets and D rings through Amazon.
Thanks for the info on this and the tip to throw the U brackets under the seats. I’m on a cross country trip and this’ll help out so much with sleeping in the back.
Comments are closed.